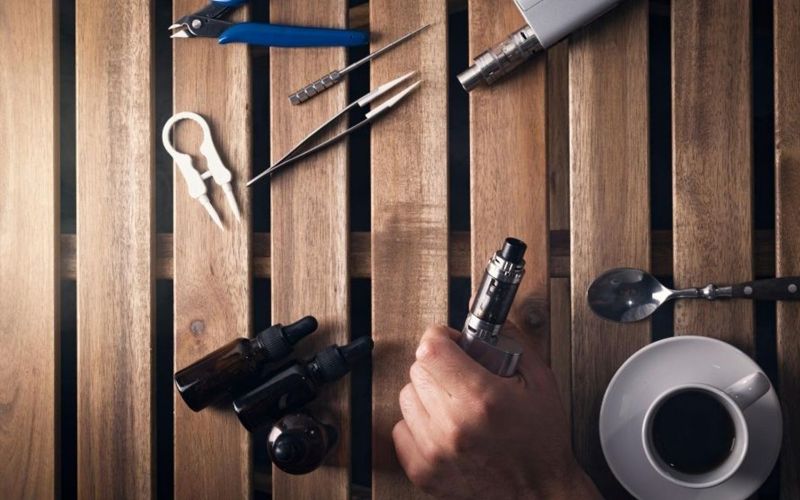
Vaping has been praised for being a cheaper alternative to smoking traditional tobacco products. When it comes to vaping, you have the upfront investment, buying your device and all of the accompanying parts and then the recurring costs of new vape juice and vape coils. The frequency at which you replace your vape juice is going to depend on how much you vape while replacing the vape coil will depend upon how well you vape. Replacing both is essential to maintaining consistent performance but if you are a vaper that does not like replacing your vape coil often, you’re probably wondering how to get the best possible longevity out of your vape coil.
What is a vape coil?
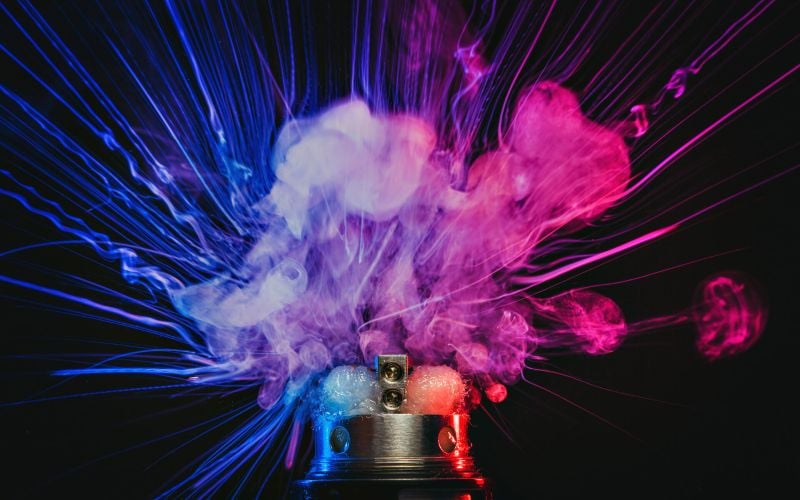
A vape coil is a necessary part of any vaping device. Also commonly called an atomizer head, the vape coil serves as the heating element that turns your vape juice into a fluffy vapor. The vape coil is made up of a thin, coiled wire and can be made from a variety of materials including nickel, titanium, and kanthal. Kanthal is the most commonly used coil material but other materials are used for features like temperature control.
All vape coils are labeled with a resistance rating. The lower the resistance level, the more ideal for producing hot, dense vapor while higher resistance coils tend to run slower and cooler. Your preferences will determine which coil resistance and material works best for you and your vaping experience.
Coils that are designed for a longer life span use alternative wicking systems like ceramic and tend to work better at lower wattages.
How long do vape coils generally last?
On average, you can expect vape coils to last anywhere from one to two weeks but it largely boils down to how you vape and how well you take care of the coils. The more frequently and the hotter you vape, the faster your coils will burn out and the more often you will have to replace them.
If you start noticing that your vapor tastes slightly burnt, has decreased in volume, or has inconsistent quality, these are all signs it may be time to replace the vape coil or thoroughly clean your current one.
Taking small steps like correctly breaking in your new coils and using a good vaping technique will help to considerably lengthen the lifespan of your vape coils which will save you money in the long run. In addition to a longer lifespan, the vape coil will produce fresher and tastier flavor.
How to make your vape coils last longer
Doing the following few tips requires only a little time and effort on your part but the money it’ll help you save and the quality vape experience it’ll produce will make it all worth it. Here are a few tips to give your vape coils a little TLC and make them last as long as possible.
Avoid taking dry or burnt hits
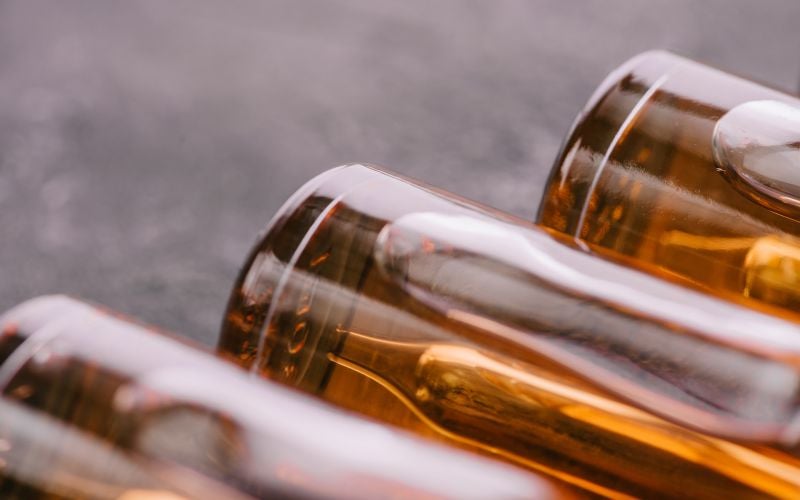
When there isn’t quite enough vape juice in your device to allow the vape coil to properly heat, the coils will instead heat up the wicking material. This causes the wicking materials to be used up at a faster rate and also produces a dry or burnt taste when you take a hit.
To counteract this, use the puff timer tool and give yourself about three to five seconds between hits. Also avoid ruining your tank by making a point of refilling at the quarter-tank mark.
Vape at the lowest possible wattage
You should avoid vaping at 200 watts or more on a regular basis as it takes an unnecessary toll on your vaping device. Vaping at only about 55 to 80 watts should produce a satisfying vaping experience and should give you plenty of tasty vapor without placing extra strain on your vape coil.
Clean your vape coil regularly and correctly
Coil maintenance is necessary if you want to make your vape coils last as long as possible. A vape coil will typically have build up that needs to be cleaned off after a few days of regular vaping, otherwise, it’ll directly affect the quality of flavor. Follow these steps to clean your vape coils:
- Clean out excess juice: You need to remove as much of the old vape juice as possible, or else you will never get it completely clean.
- Rinse the coil under hot water: Hot running water washes away debris or half-heated liquid that may be sticking to its sides.
- Shake off the water: Gently shake out the excess water that is hanging out between the coil wraps then let the coils air dry on top of a paper towel. Before moving onto the next step, you want to make sure your coils are completely dry, otherwise your coils may heat unevenly.
- Attach coils to vaporizer: Once dry, place your coils and press the firing button until they heat up completely. Make sure they heat evenly across all of the wraps. If you see signs that it is heating unevenly, make sure it is completely clean and dry.
- Repeat the heating process: Allow your coils to cool for four to five seconds then fire them again. This process causes the coils to expand and contract which ensures they are completely clean and ready to be reintroduced to vape juice again.
- Put the vape device back together: Fill the tank up and return to your regular vaping. You should notice a cleaner and fresher vape.
Properly prime new vape coils to ensure longevity
Replacing your old vape coil is not as simple as screwing off the old one, screwing on the new one, and going about your business. To get a long-lasting, flavorful vaping experience, you need to prime your coils every time you replace them. Here’s how.
- Screw off your old coil, dispose of it, and screw the new one into place. Double check that it is securely attached. This allows you to grip the larger tank base in the next step.
- Look for the juice holes on the body of the coil’s head which is where the vape’s wicking material makes contact with the vape juice. Add a drop of vape juice in each hold to saturate the wick. Add a drop to the head to saturate the wick’s center.
- Once you’ve got your device filled, reassemble the tank and attach it to the battery. Take four to five dry hits rather than pushing the fire button like you normally would. These dry hits will move the vape juice from the tank and siphon it into the cotton of the wick.
- Now that the wicking material is properly saturated, you’ll want to prime the new wiring. As the coil wire is made of metal, it will expand when heated and contract when cooled so you’ll want to start out taking it slow, easing the coil into the expansion phase. Start at a lower wattage than you would normally use, take a few shorter hits and then increase the wattage and drag duration slowly and steadily until you’re vaping as normal.
Conclusion
For the best vape experience every single time you use your device, make sure to get high-quality vape coils at Vapor Chasers. We carry a wide variety of coil options made by brands you know and trust, all at a low price. When you shop with Vapor Chasers, you can rest assured that you will get high-quality, long-lasting products because we don’t stock anything but the best. Contact us through our form today!

Written By Vapor Chasers
We are extremely proud of the customer experience we have created. Friendly, clean, and well-stocked with the highest quality products on the market, Vapor Chasers is everything we had wanted in a vape shop when we were customers.
We also pride ourselves on having the largest selection of devices and e-liquid in Virginia Beach. Everything from starter kits to high end mods, and over 100 different e-liquid flavors!
With over 25 years of combined vaping experience, our staff is well-equipped to handle questions, maintenance, repairs, and most importantly help you find the e-liquid and equipment you need to help you make the switch to vaping!